
VSCO has so many different filters, some are free and and some you can buy and they even do it for video too. All the ones I use are free and they're amazing!
VSCO gives you an insight into what your images will look like on the gram before you actually publish it. So let me just say that not even has the same editing abilities and these apps makes it so great and easy to edit videos and photos. Also not even has the same aesthetic and both apps can help with whatever you want.
- My Insta is still just a regular Insta because my photography Insta is for business however I'm thinking of making it a business Insta too.
- I have a lot of light in my bed room so its easier for me to take pictures at night and be able to edit them to look nice and also a lot are taken when there is still day light about, especially in the evenings when the sunset looks good.
- I try to use my iPhone 6s for everything that I do especially when out and about but when I have a project I want to shoot or a look book then I'll shoot on my Canon 100D. I transfer all my pictures from my camera to my laptop and from laptop to iPhone because I can't edit on VSCO or Facetune on my MacBook Air.
So here’s how I edit…
*note: some of these pictures I didn't use VSCO for*
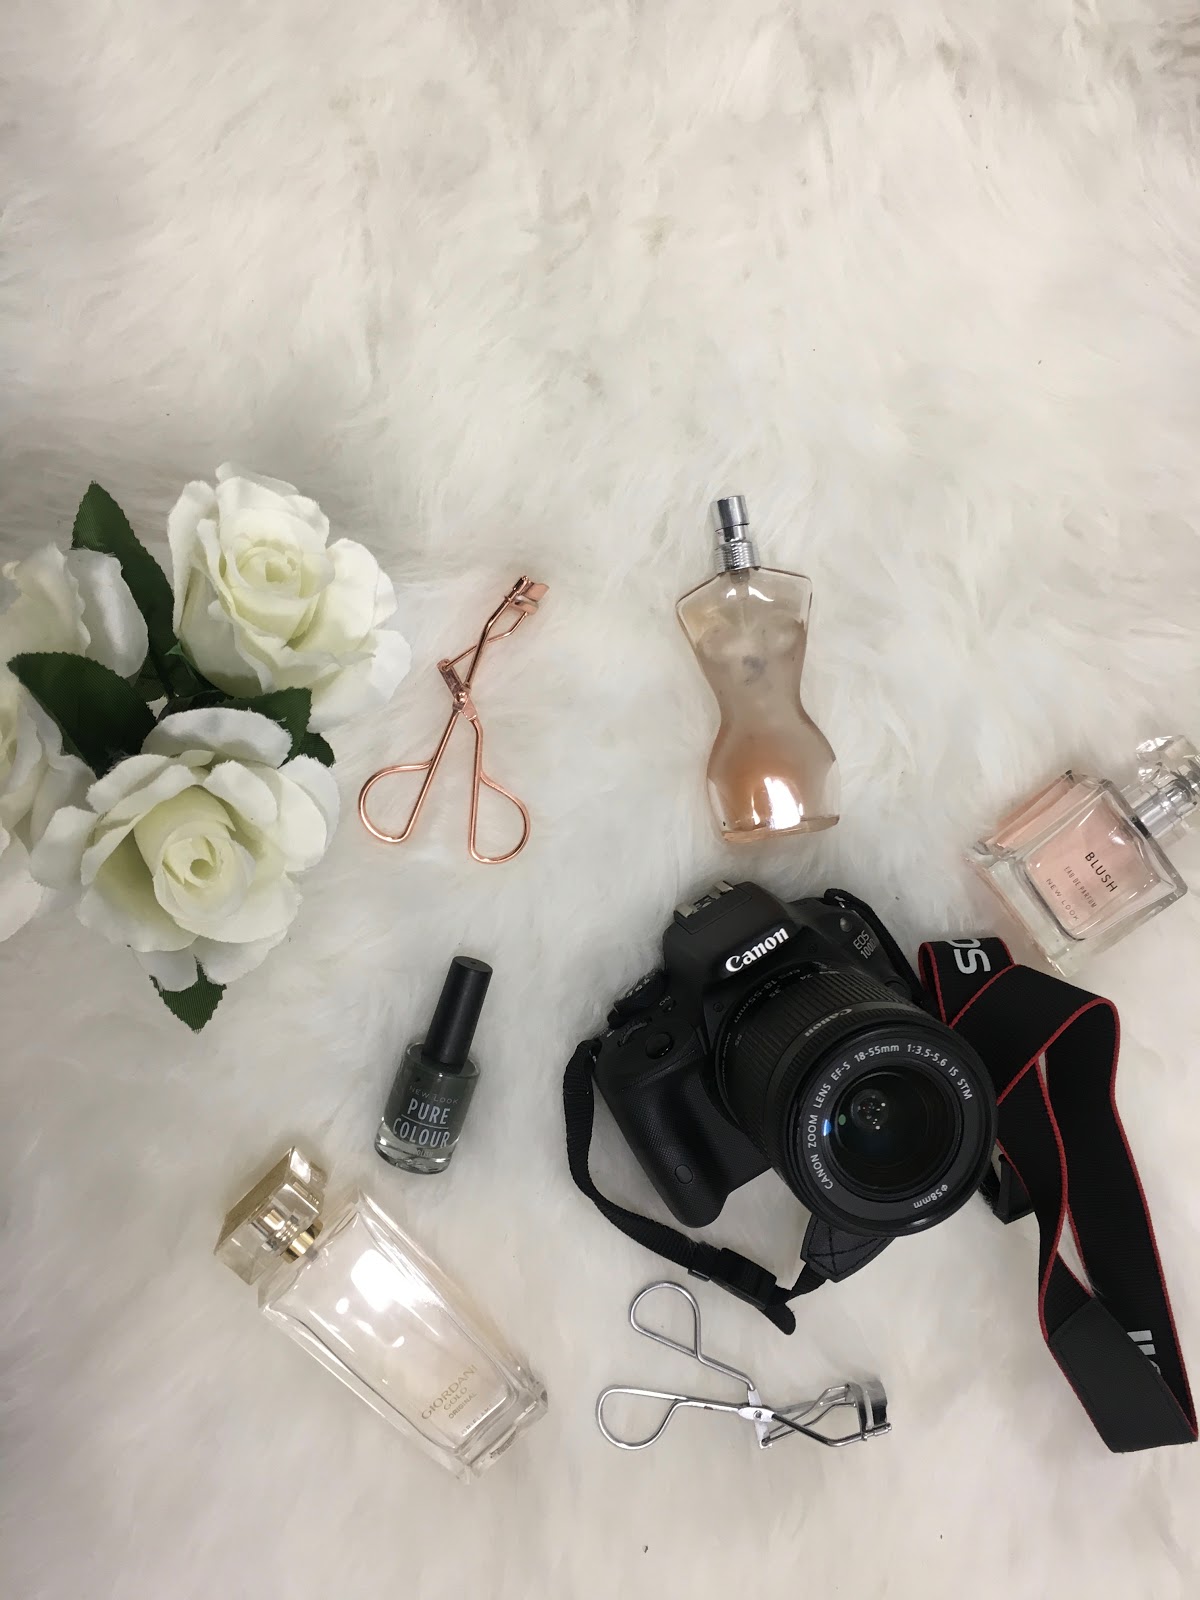
First I use 3 different cameras sometimes...depending where and what I'm doing.
The Panasonic Lumix is my on the go pocket camera for blogs and to make little memories

I also use the Canon 100D

or I use my busted iPhone 6s which still works fine for taking photos.

So here it is.

top is before and bottom is after. I upped the exposure ever so slightly to make it look brighter and put a black and white overlay.


Top left is the before and bottom is after. Used the NIKE X VSCO preset.


Again, top is before and bottom is after. Upped the contracted and reduced the exposure every so slightly to make it have a more purple hue.


up top is unedited and bottom is edited. I used the whitening tool on Facetune to whiten the background and the whites of my eyes and also to brighten my teeth. I used the smoothing tool a little bit too which I see no shame in.


I hope you enjoyed that. let me know what you think.
Love
Landrine x

I would love to try these, your photos so beautiful! My recent favourites are Afterlight and Planoly, which is so helpful for planning out Instagram pics :D xx
ReplyDeleteelizabeth ♡ ”Ice Cream” whispers Clara (P.S we should absolutely follow each other on bloglovin or instagram haha :D xx)